
Having completed the Armiger Warglaives I felt a lot more confident tackling the larger Imperial Knight. There’s more detail to cover but also more room to work with this model and I had already worked out my color scheme with the last two models.
I’ve wanted to paint an Imperial Knight for awhile now and I finally felt ready to do it. The bigger kits that Games Workshop produces are typically pretty great and also really give the rest of your models a sense of scale.

The Body
I’ve already detailed how I painted the main body of the Armiger Warglaive and I used the same technique here for the Imperial Knight chassis.
See my previous post to take a look at how I did it.
The only tip I’ll add is to be especially mindful of the larger flat areas when applying your shades – if you let it pool too much these areas will look sloppy and you’ll have to repaint and re-shade it.
The Armor
I’ve already detailed how I went about painting the armor panels and weapons for the Armiger Warglaive and I used the same technique here for the Imperial Knight’s armor panels and weapons. Again, I will be painting this Knight in the colors of House Raven.
See my previous post to take a look at how I did it.


I’m building this kit as an Imperial Knight Warden, which means he’s kitted up with the avenger gattling canon and a thunderstrike gauntlet. I’m also opting to include a carapace mounted missle launcher to top it all off.

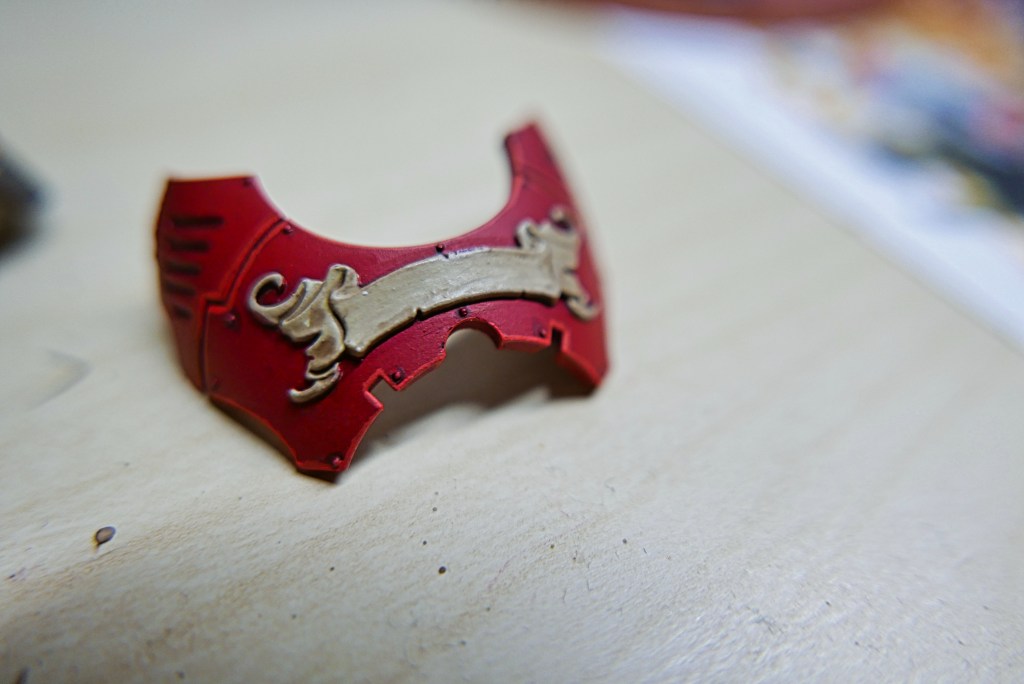
Scrollwork
Step 1: Zandri Dust (Base) over the scrollwork
Step 2: Ushabti Bone (Layer) over the scrollwork
Step 3: Agrax Earthshade (Shade) over the recesses
Step 4: Screaming Skull (Layer) over the edges

I’m fairly pleased with the end result. I feel like the larger armor plates and carapace was more forgiving to minor mistakes since there was just so much more model for your eye to take in that it doesn’t get noticed. Working on the Armigers prior to this really helped me get my color scheme down and gave me the confidence to tackle this model.
