
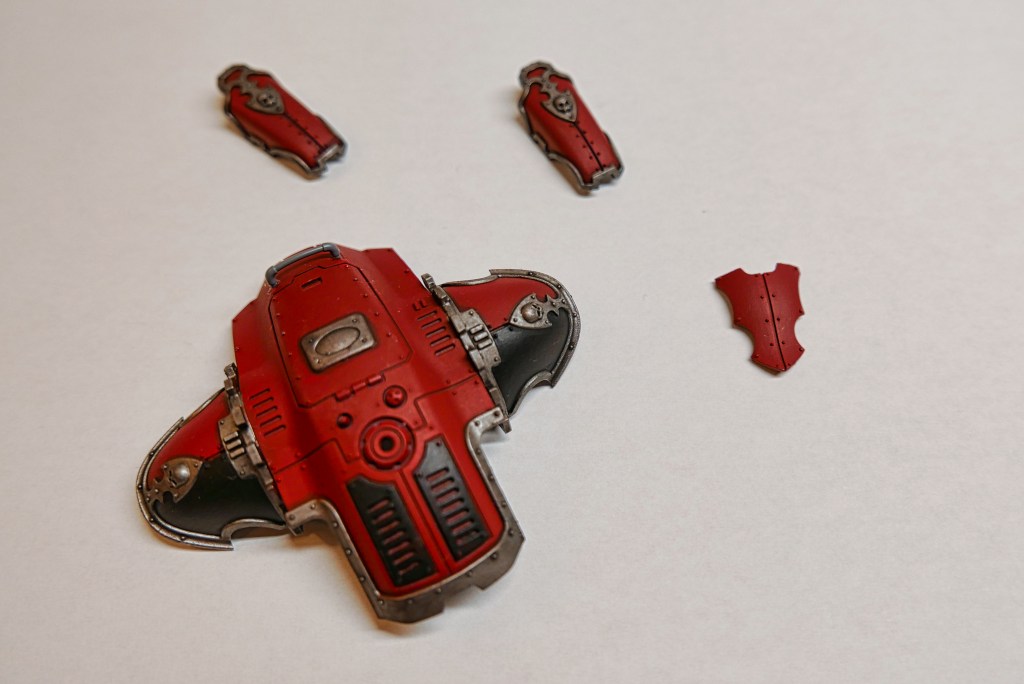
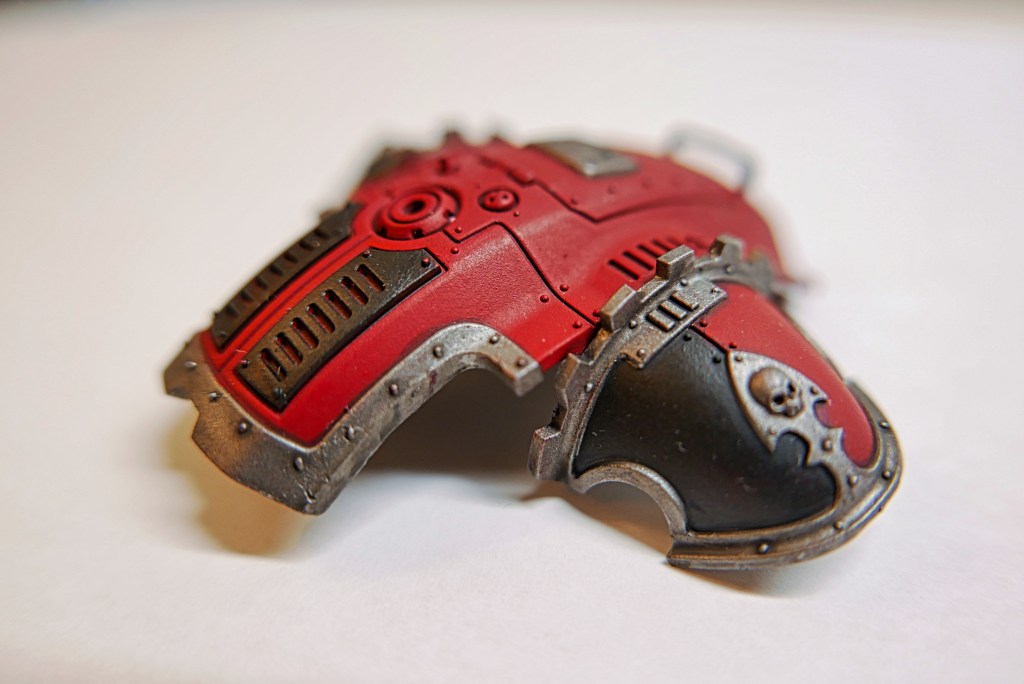
I finished painting the Armiger Warglaive’s armor panels and weapons. I had already painted the ankle and collar armor so I just had the upper leg, pelvic, upper carapace, and shoulder armor pieces to finish off.
Pt. 2/3
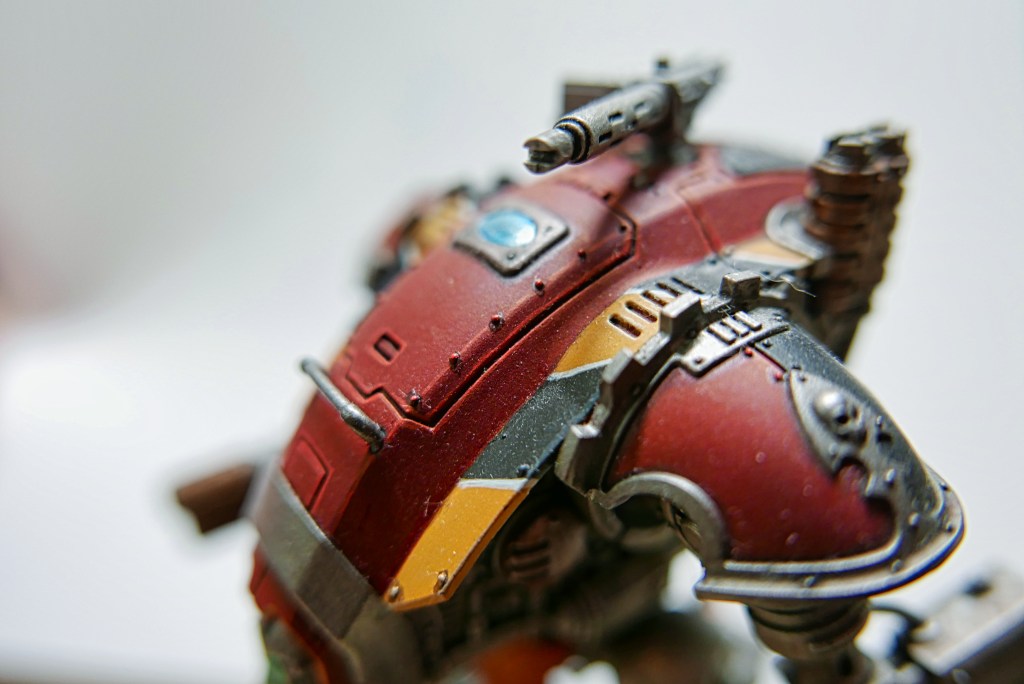
Visually the armor has a nice correlation with the Armiger’s larger cousins, the Imperial Knights. I’ll be painting all my knights in the livery of House Raven so it’s going to be a lot of red and black with the occasional hazard stripe across it.

The Armor
Step 1: Leadbelcher (Spray) undercoat all the armor panels
Step 2: Mephiston Red (Base)over all the flat panels
Step 2a: Abaddon Black (Base) over half of the leg and shoulder panels
Step 2b: Averland Sunset (Base) over areas intended for for hazard stripe
Step 3a: Nuln Oil (Shade) over metallic portions and in the recesses of the red
Step 3b: Agrax Earthshade (Shade) in the recesses of the yellow portions and along the seam between Red/Yellow
Step 4a: Stormhost Silver (Layer) along the edges of the metallic portions, the viewport and eyes
Step 4b: Evil Sunz Scarlet (Layer) along the edges of the red panels and the rivets
Step 4c: Ushabti Bone (Layer) along the edges of the yellow portions
Step 4d: White Scar (Layer) to complete the hazard stripes
Step 5a: Soulstone Blue (Technical) in multiple layers over the viewport
Step 5b: Waystone Green (Technical) in multiple layers over the eye(s)

One reply on “W.I.P. – Imperial Armiger Warglaive pt. ii”
[…] my previous post to take a look at how I did […]
LikeLike