
I picked up the Armiger Warglaive since I’m planning on building a knight or two and wanted to get some practice at a smaller scale.
Pt. 1/3
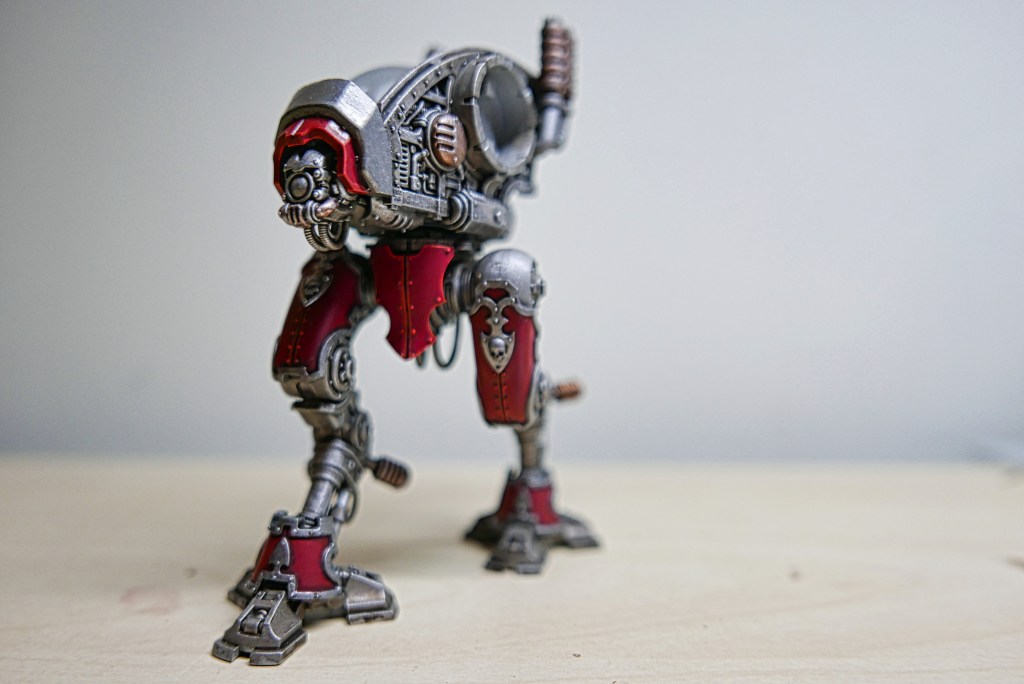
The model is easy to build and I love the predatory look GW has given them by inverting the joint of the leg. I chose House Raven as my paint scheme since they’re so closely aligned with the Adeptus Mechanicus and share a similar color palette.
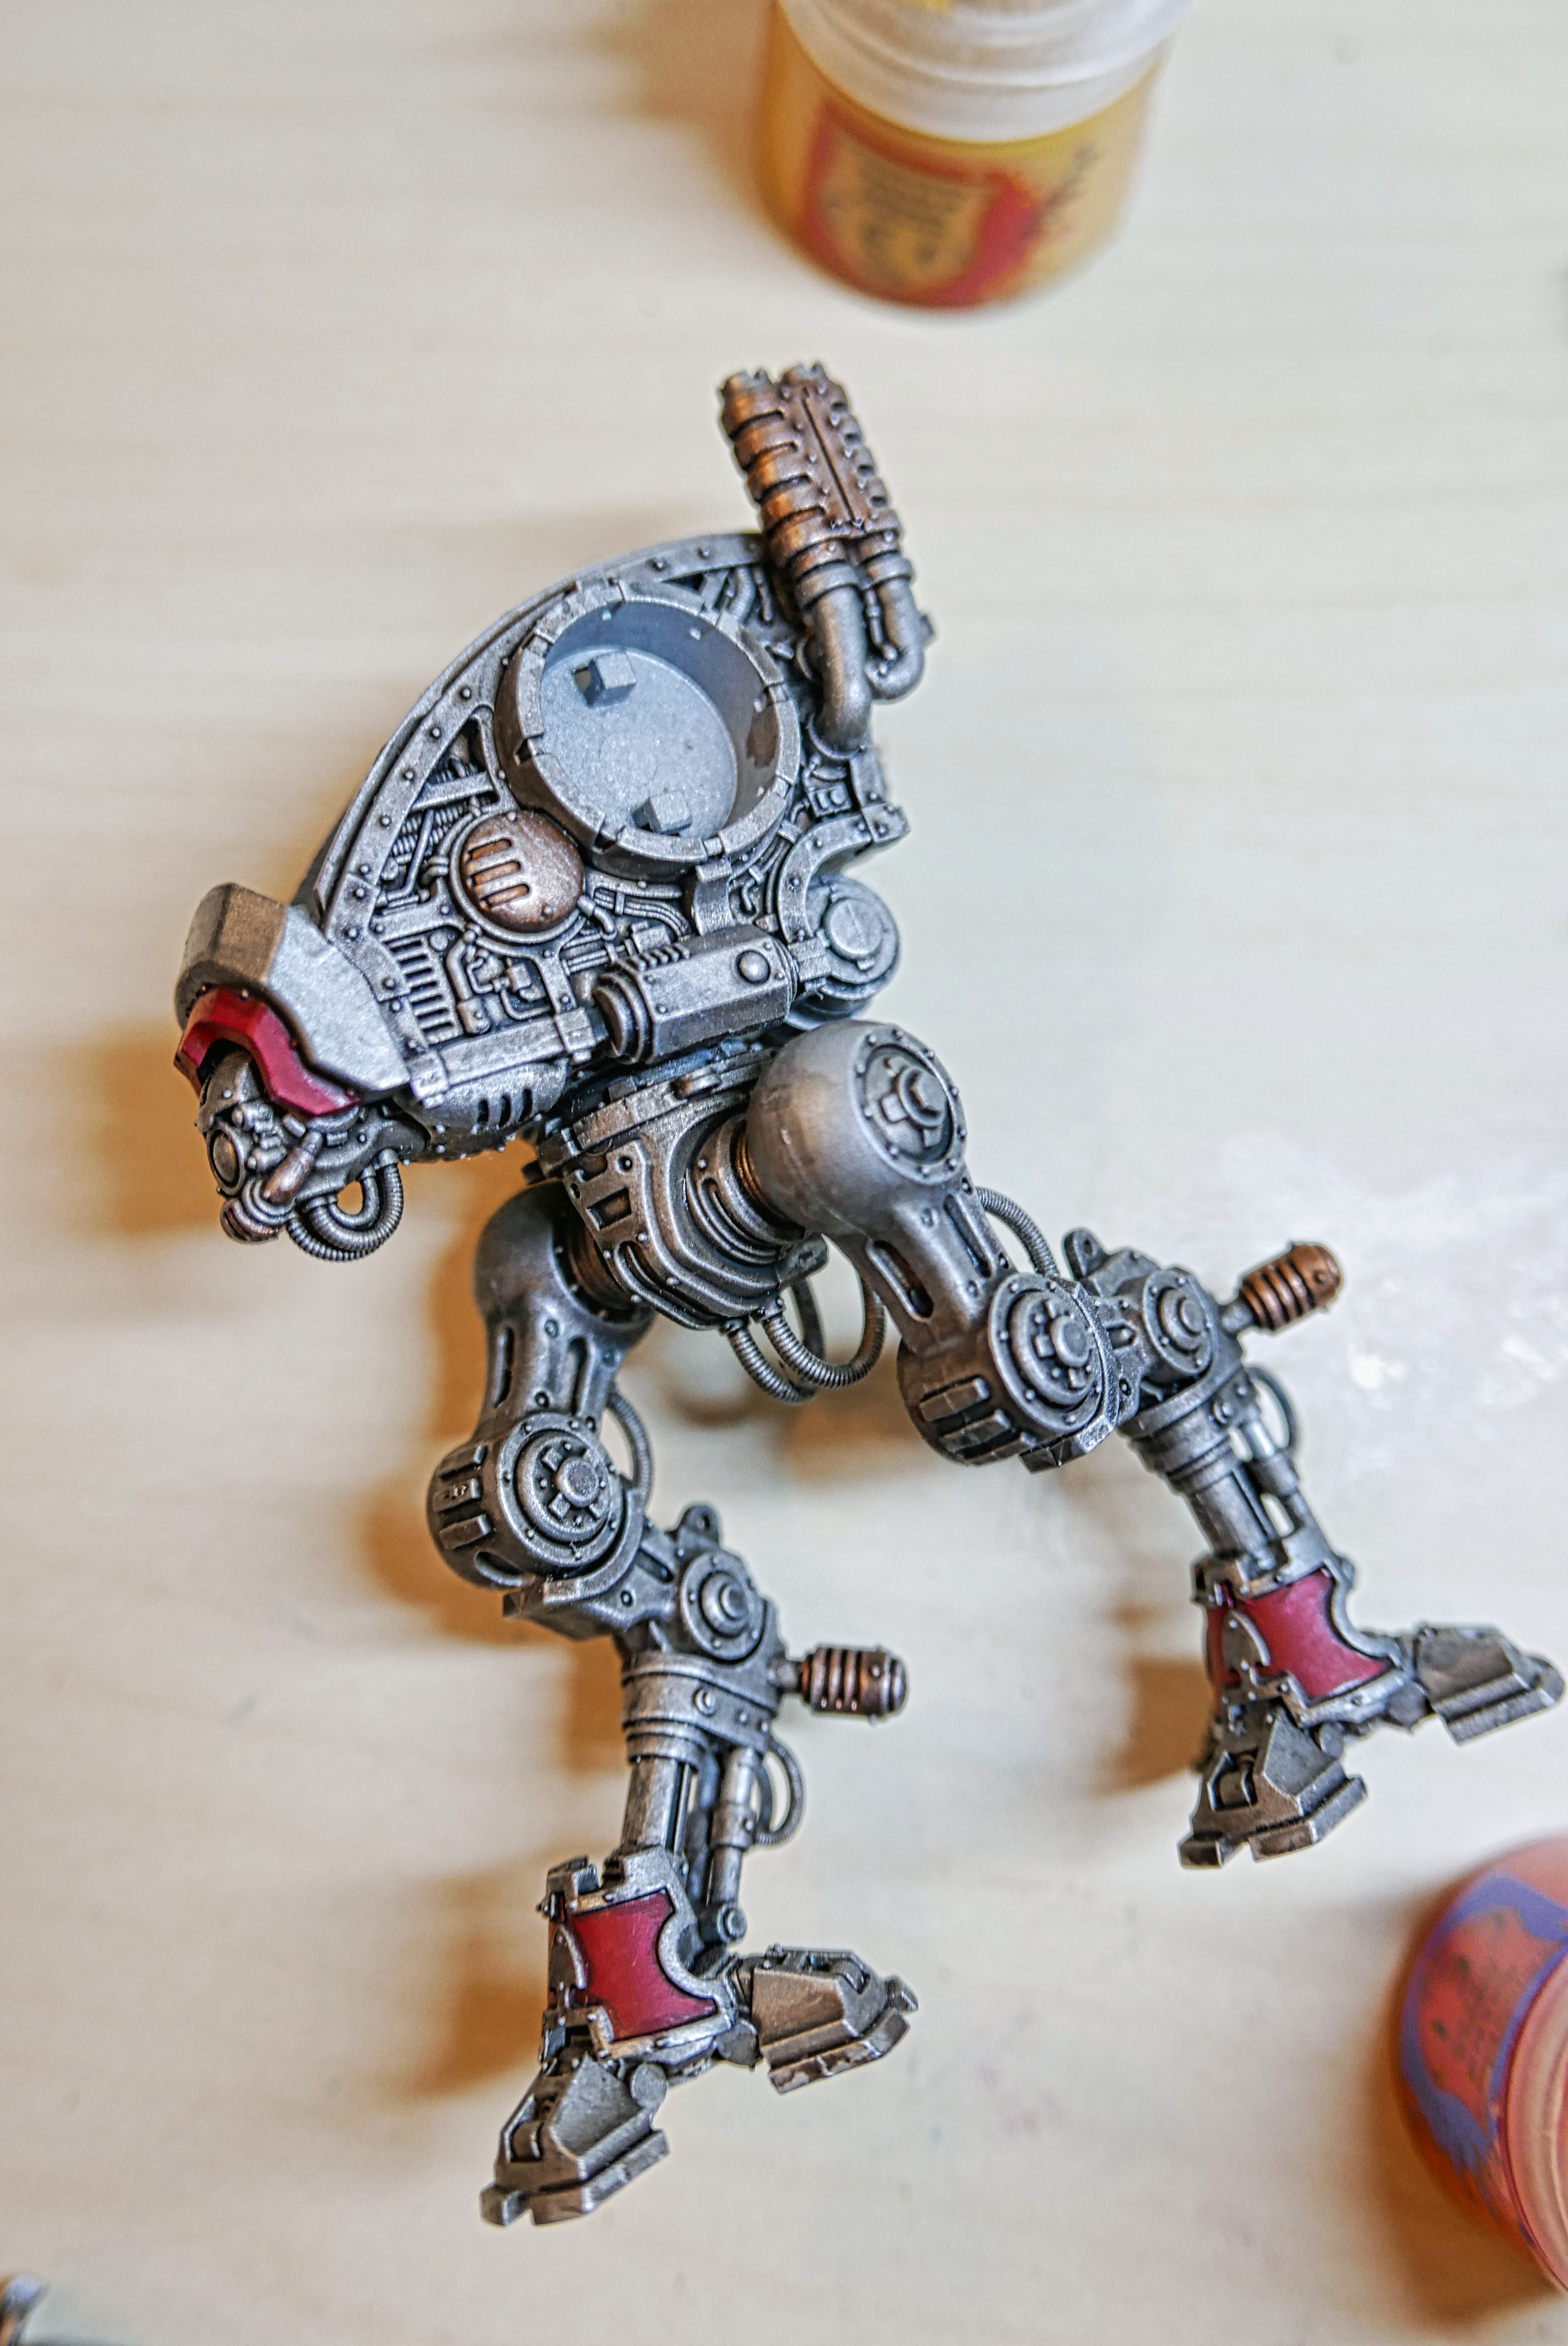
Note: I highly recommend assembling and panting the armor plating separately from the main body of the model. It will make your time significantly easier and you’ll end up with a much sharper paint job.

The Body
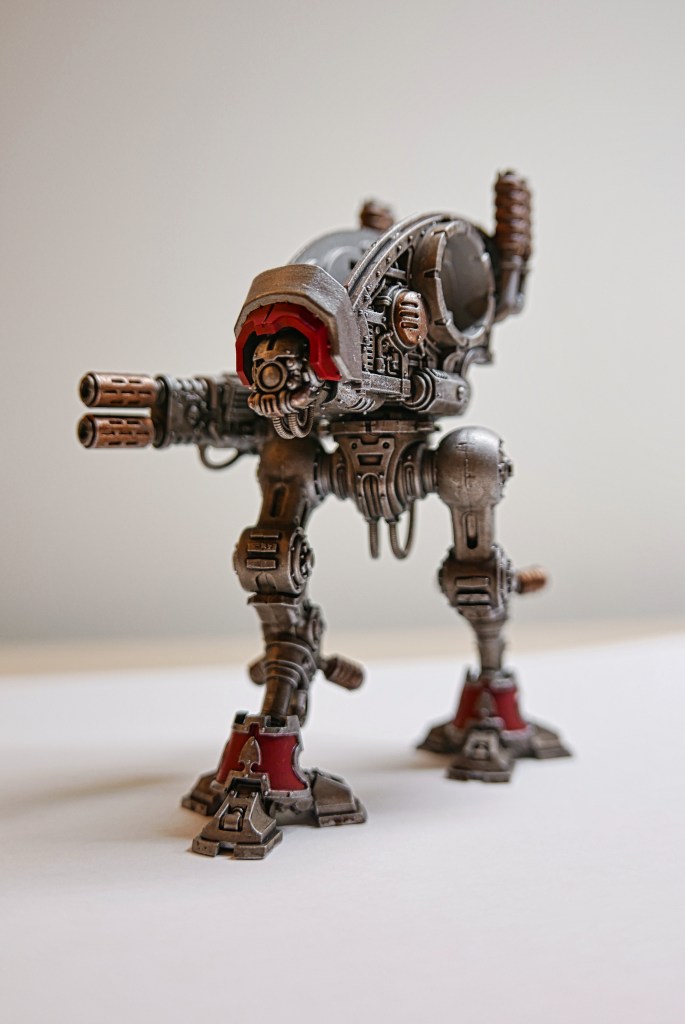
Step 1: Leadbelcher (Spray) undercoat the entire model
Step 2: Balthazar Gold (Base) over select details and accents you wish to call attention to
Step 3a: Nuln Oil (Shade) over the entire model. Don’t let it pool too much in the deep recesses or over flat sections
Step 3b: Agrax Earthshade (Shade) over the entire model
Step 3c: Nuln Oil (Shade) over the recessed areas and joints, skipping the raised and flat area
Step 4: Necron Compound (Dry) drybrush the entire model
Step 5: Stormhost Silver (Layer) on the sharpest edges and corners to highlight them

One reply on “W.I.P. – Imperial Armiger Warglaive pt.i”
[…] my previous post to take a look at how I did […]
LikeLike